503-590-7574
Blog
The Dental Crown Procedure, Step by Step: A Patient’s Complete Guide
May 21, 2026
Dental Crown
If your dentist has recommended a crown, your first question is probably a simple one: what actually happens? Understanding the dental crown procedure from start to finish takes a lot of the anxiety out of it. Crowns are one of the most common restorative treatments in dentistry — and one of the most misunderstood. This guide walks through every stage clearly, so you can walk into your appointment at any Beaverton dental office, including Murray Scholls Family Dental, knowing exactly what to expect.
Why Dentists Recommend Dental Crowns
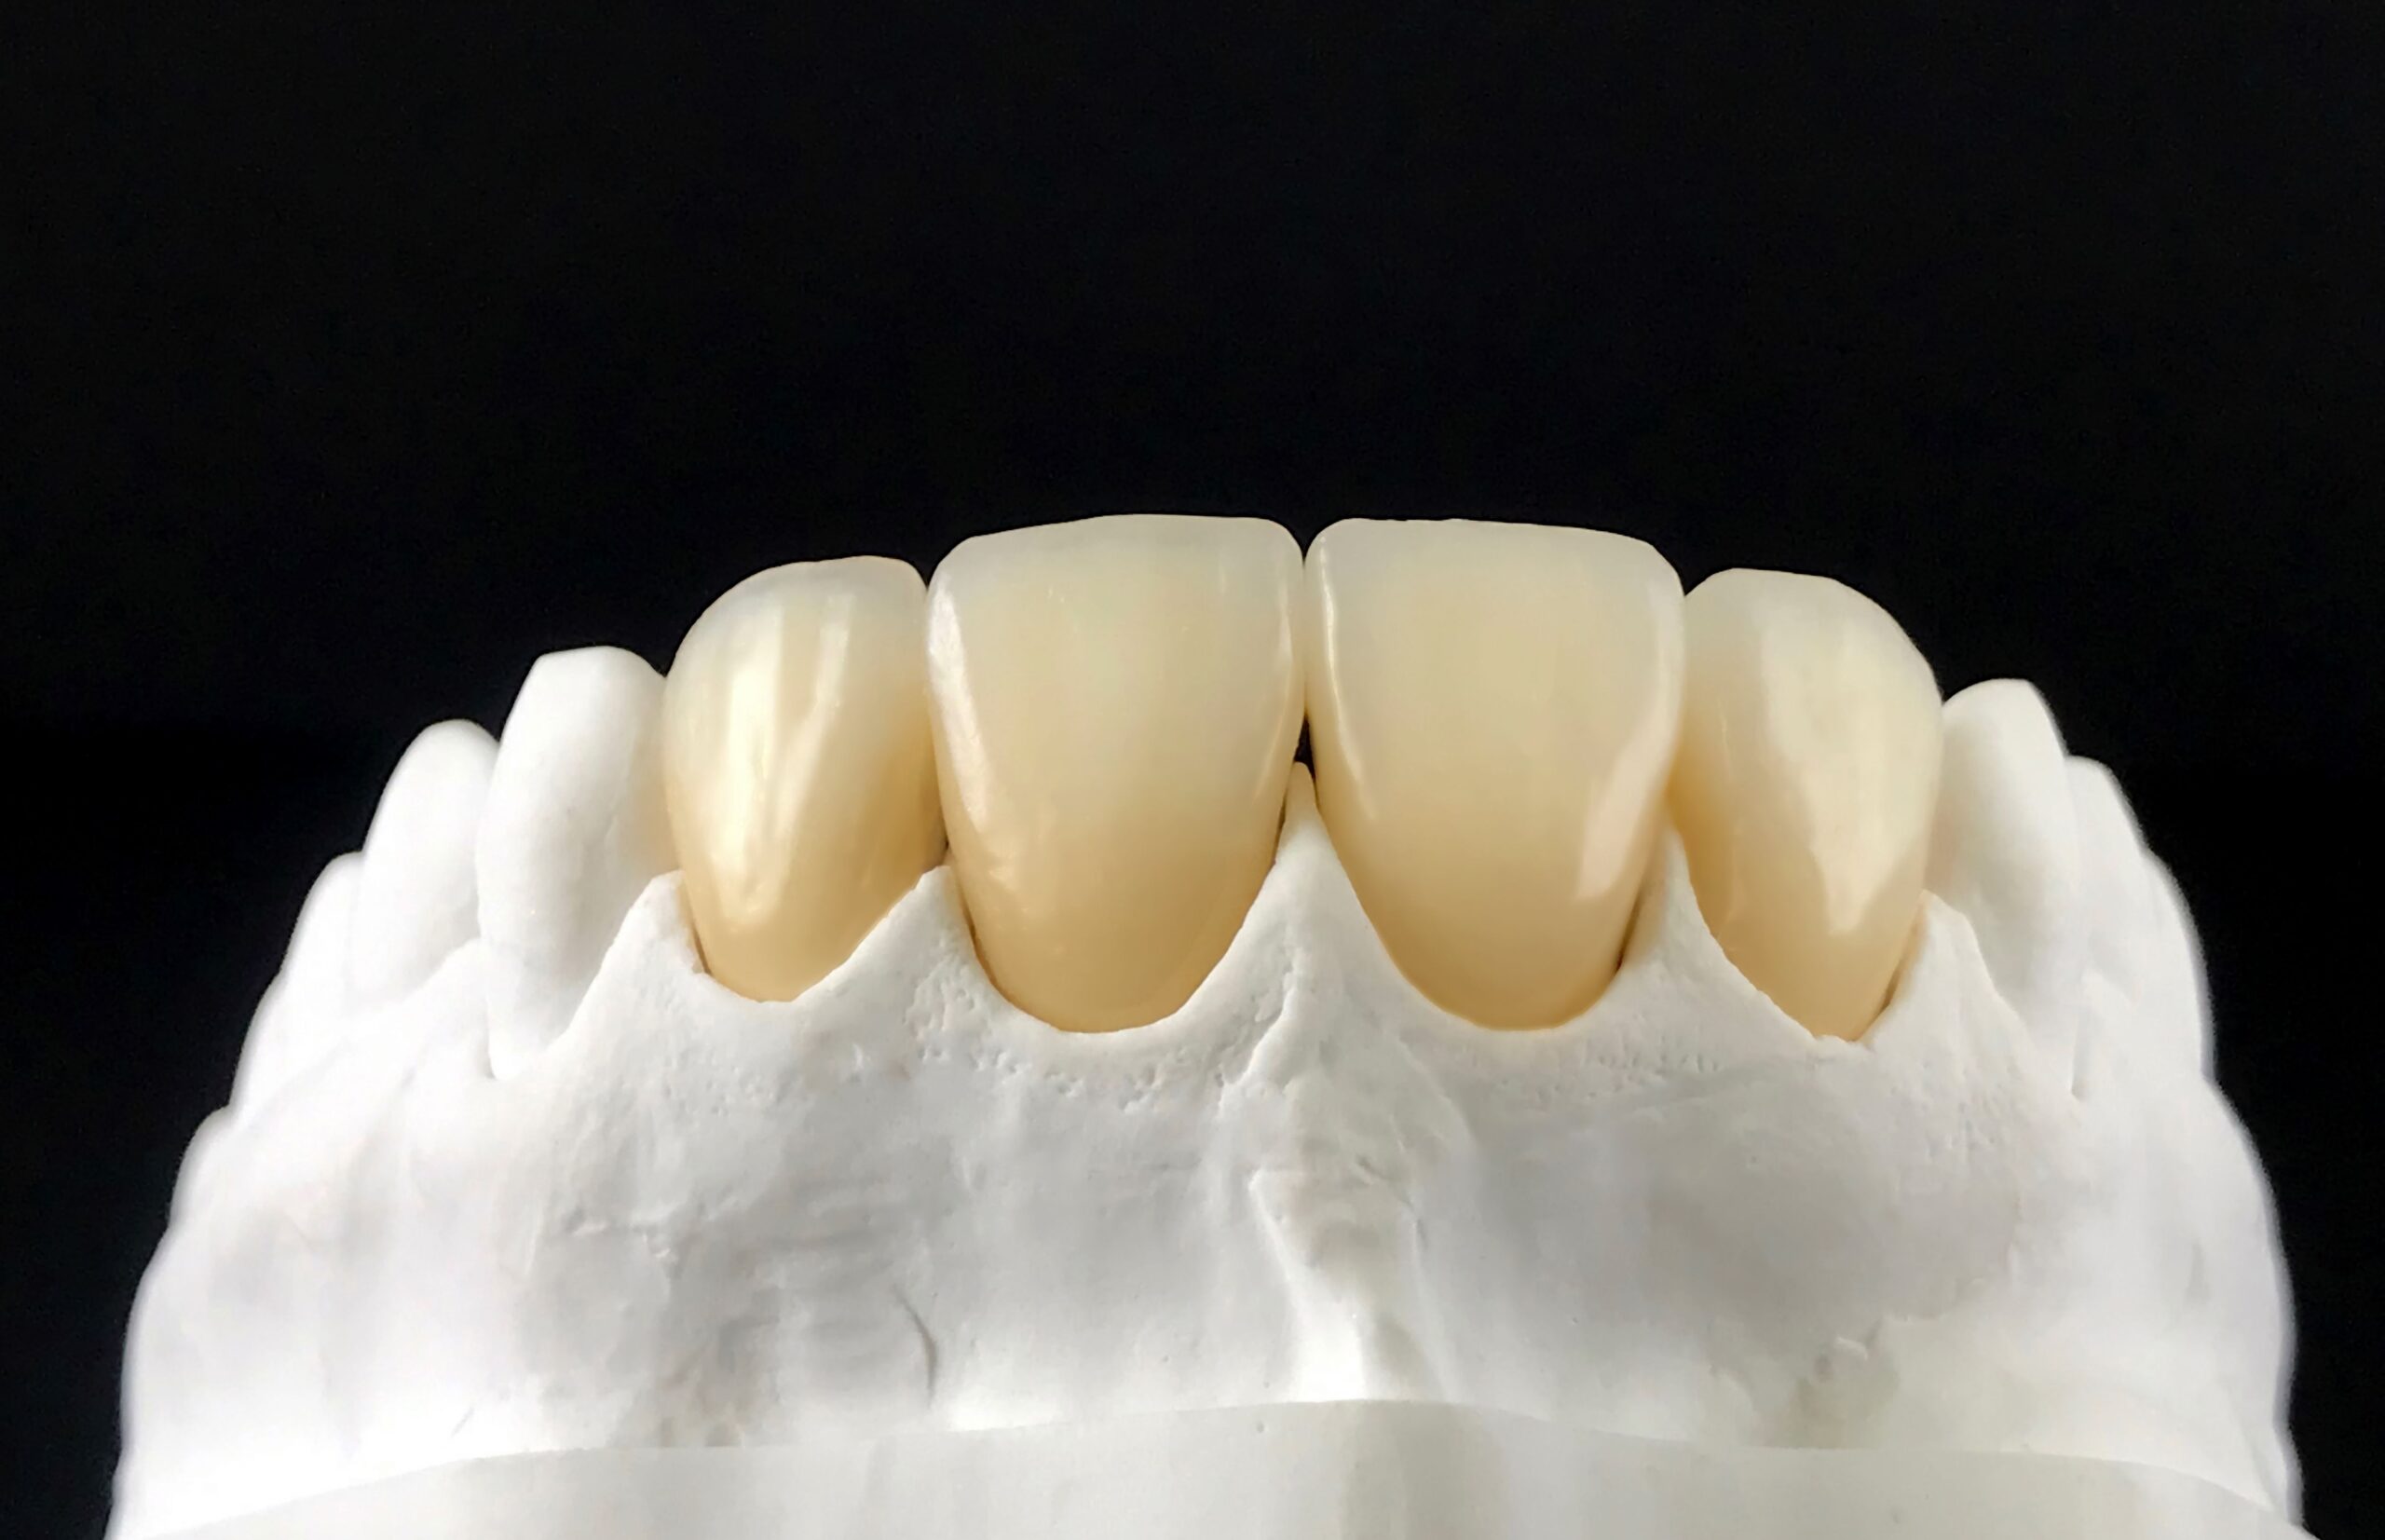
A dental crown is a tooth-shaped cap that fits over a damaged or weakened tooth, restoring its shape, strength, and function. Dentists recommend them for a range of situations:
- A tooth with a large cavity that can’t be supported by a filling alone
- A cracked or fractured tooth at risk of further damage
- A tooth that’s been treated with a root canal
- A severely worn tooth due to grinding (bruxism)
- Cosmetic restoration of a significantly misshapen tooth
The goal isn’t cosmetic in most cases — it’s structural. A crown is often what keeps a compromised tooth functional for years rather than requiring extraction. If you’re curious how crowns fit into broader smile restoration, this overview of how dental crowns improve your smile covers that in more detail.
Step 1: Initial Examination and Treatment Planning
The procedure begins well before any preparation of the tooth. At your first appointment, your dentist will:
- Examine the affected tooth visually and with probing
- Take digital X-rays to assess the root, surrounding bone, and extent of damage
- Evaluate whether a crown is truly the right solution — or whether a different restoration might serve you better
If there’s any decay present, that’s addressed before crown placement begins. In some cases, if the tooth structure is too compromised, a buildup (using composite material) is placed first to give the crown a solid foundation to bond to.
This diagnostic phase is important. A well-planned crown starts with accurate assessment.
Step 2: Tooth Preparation
This is the core clinical step — and the one most patients are curious (or anxious) about.
Your dentist will administer local anesthesia to numb the tooth and surrounding gum tissue. Once the area is fully numb, the tooth is reshaped. This involves filing down the outer surface on all sides to create space for the crown to sit over it without making the bite feel too high.
The amount removed depends on the type of crown being placed. Porcelain-fused-to-metal crowns, for example, require slightly more reduction than all-ceramic options. All-ceramic and zirconia crowns have become increasingly common because they offer a more natural appearance and require less tooth removal in some designs.
If you’d like a breakdown of material differences before your appointment, this guide to the three types of dental crowns explains each option clearly.
Step 3: Impressions and Shade Matching
Once the tooth is shaped, your dentist takes an impression of the prepared tooth and the surrounding teeth. In modern practices, this is often done digitally using an intraoral scanner — a wand-like device that creates a precise 3D image of your bite without the mess of traditional impression trays.
If your crown will be visible when you smile, your dentist will also do shade matching — selecting a porcelain color that blends naturally with your existing teeth.
That impression is sent to a dental laboratory, where a technician fabricates the permanent crown to exact specifications. This typically takes one to two weeks.
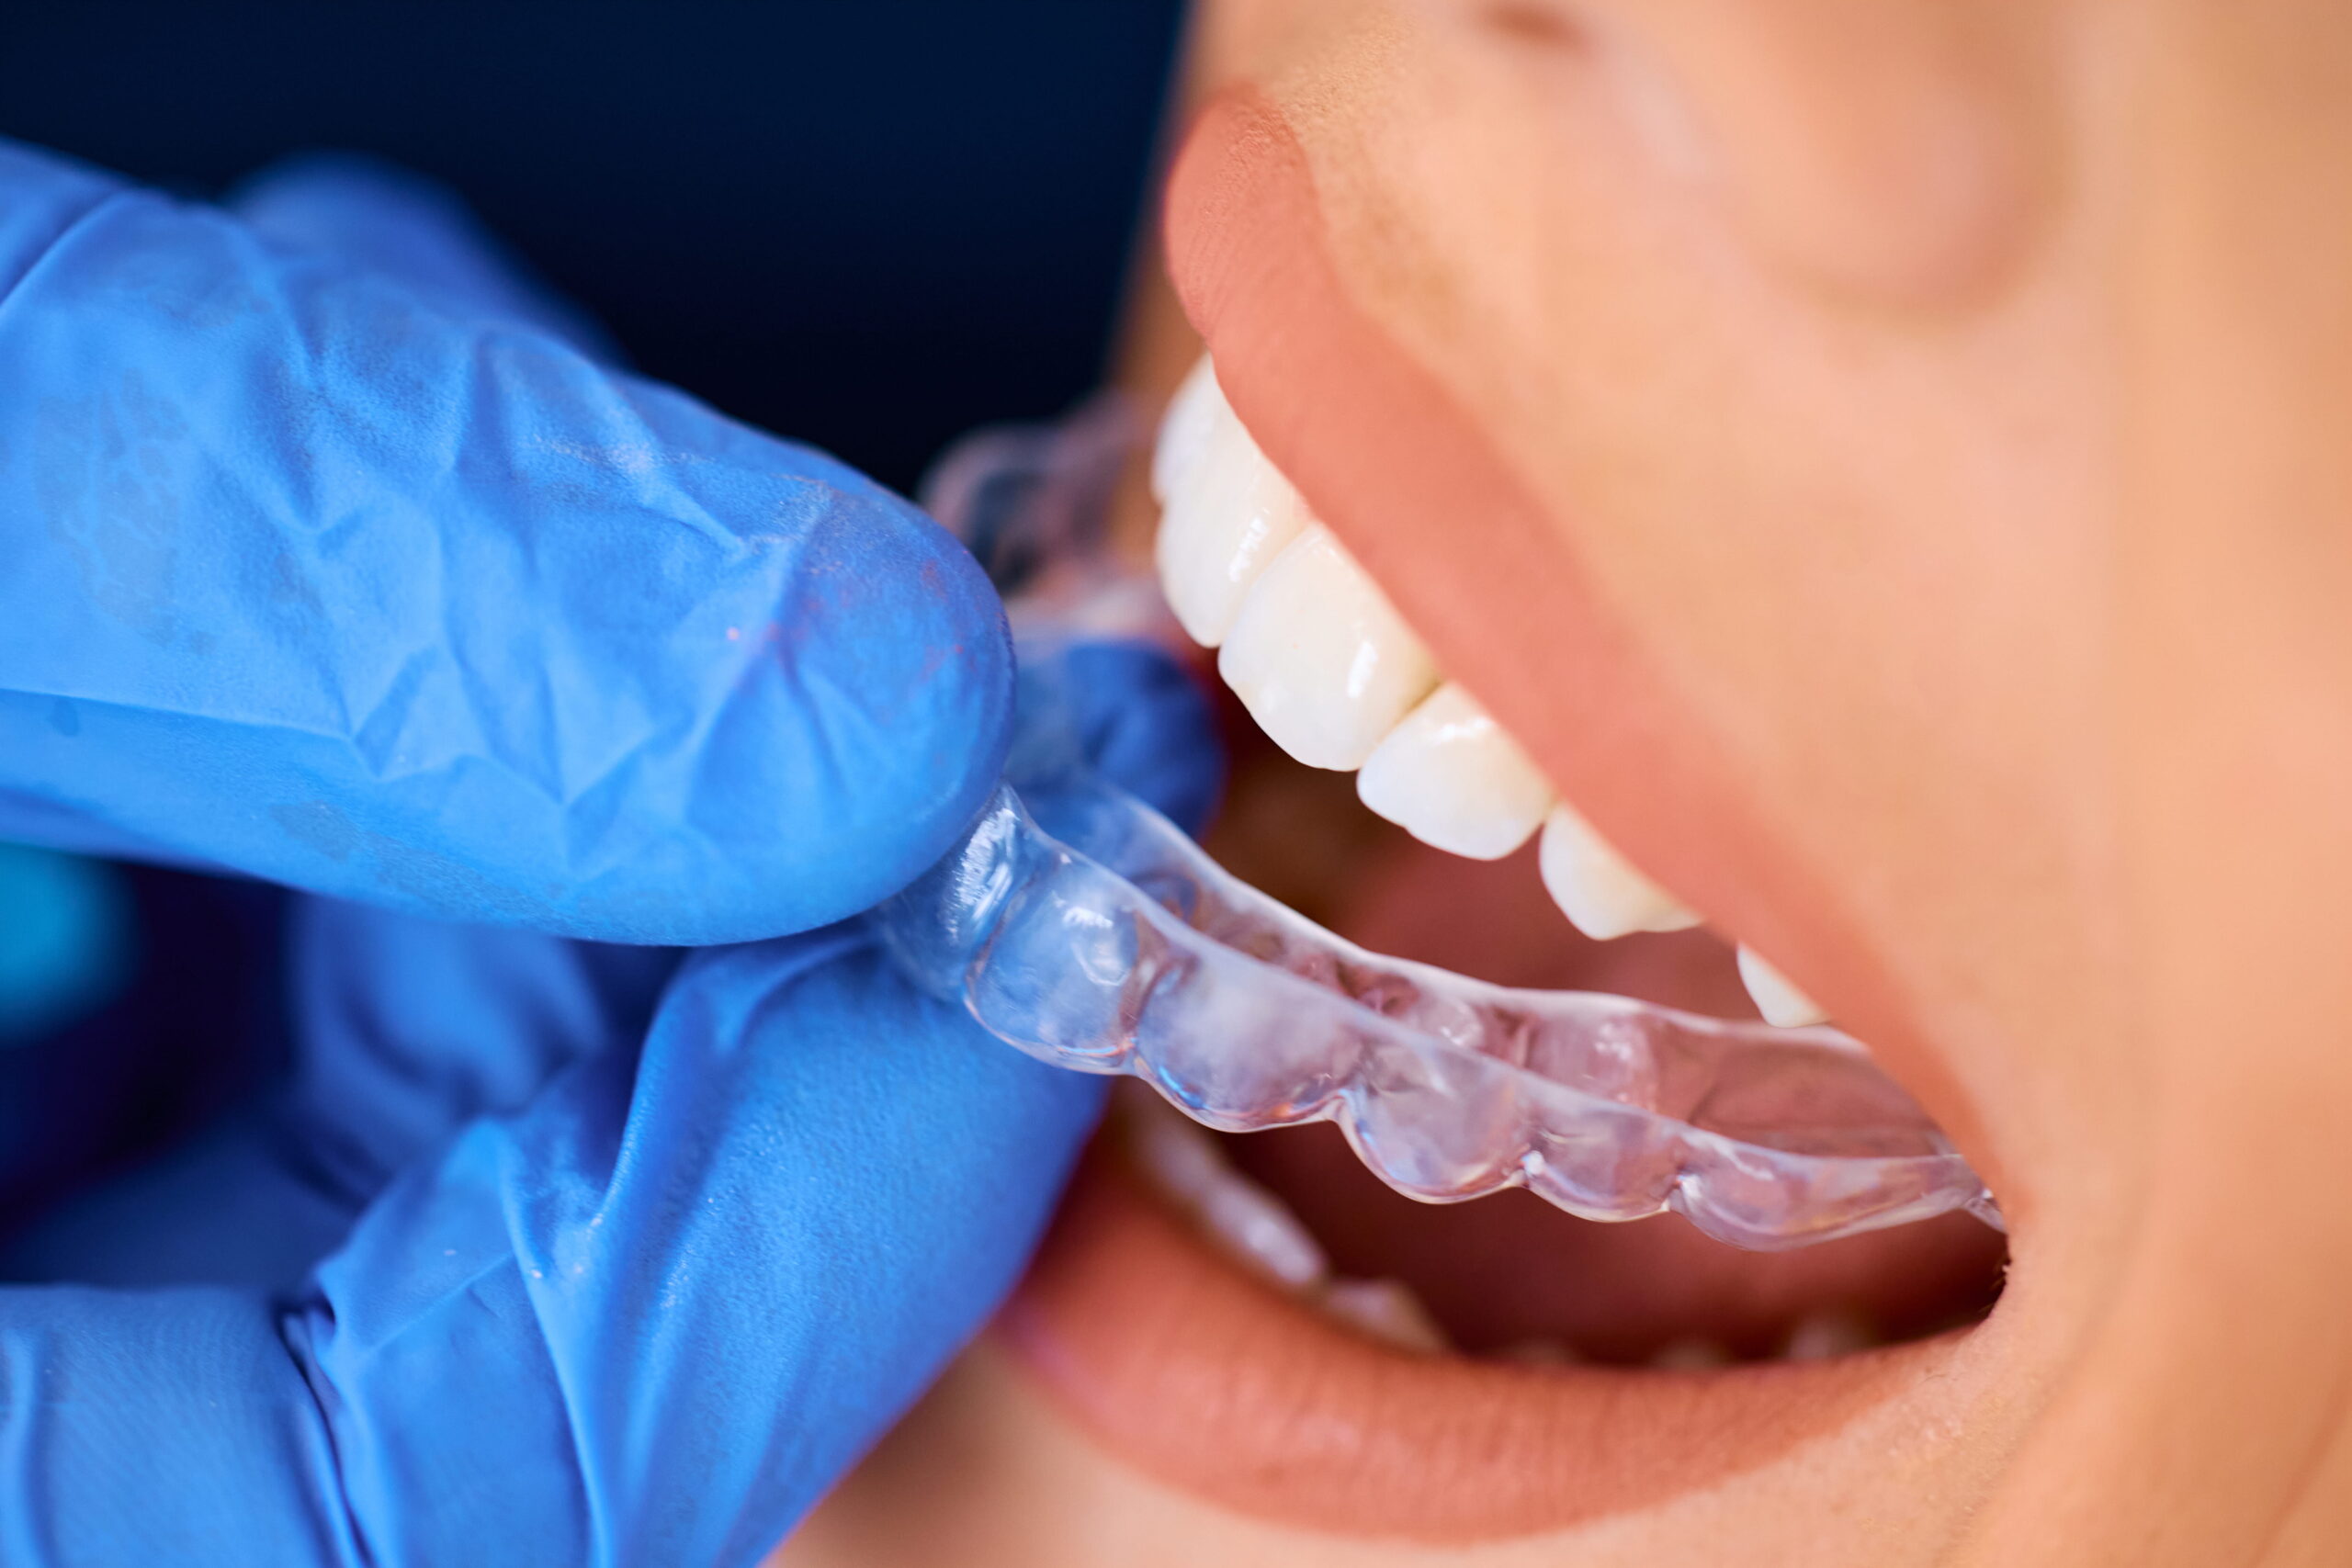
Step 4: Temporary Crown Placement
While the permanent crown is being made, your dentist places a temporary crown over the prepared tooth. This temporary:
- Protects the exposed tooth structure from sensitivity and damage
- Maintains your bite alignment
- Preserves the space so surrounding teeth don’t shift
Temporary crowns are typically made from acrylic or composite resin and are cemented with a weaker, removable adhesive. They’re functional but not as durable as your permanent restoration — so it’s generally best to avoid sticky or hard foods on that side until the final crown is placed.
If the temporary comes off before your follow-up appointment, contact your dental office promptly. Leaving a prepared tooth unprotected for extended periods can cause sensitivity or shifting.
Step 5: Permanent Crown Placement and Final Adjustment
When your permanent crown returns from the lab, you’ll come back for a second appointment — typically shorter than the first. Your dentist will:
- Remove the temporary crown
- Clean the prepared tooth surface
- Try in the permanent crown to check fit, contour, and bite alignment
- Make any necessary minor adjustments before cementing
Once everything checks out, the crown is permanently bonded using dental cement. After the cement sets, your dentist will check the bite one more time and make any last fine adjustments.
Some patients notice mild sensitivity for a few days after final placement as the tooth settles. This is normal and typically resolves on its own. If sensitivity persists or the bite feels off after a week, a quick follow-up appointment to refine the fit is all that’s usually needed.
How Long Does a Dental Crown Last?
With proper care, dental crowns typically last 10 to 15 years — and many last significantly longer. The lifespan depends on:
- The material (zirconia and all-ceramic crowns tend to be durable; porcelain-fused-to-metal can chip over time)
- Oral hygiene habits — crowns don’t decay, but the tooth underneath them can
- Whether the patient grinds their teeth (a nightguard is often recommended in these cases)
- Regular dental exams to catch any fit or wear issues early
Treating a crowned tooth the same as a natural tooth — brushing twice daily, flossing carefully around the gumline, and keeping up with cleanings — is the most reliable way to extend its lifespan.
Getting Dental Crowns in Beaverton
If you’ve been told you need a crown — or you’re experiencing pain, sensitivity, or visible damage to a tooth that hasn’t been evaluated yet — getting a proper assessment is the right first step. At Murray Scholls Family Dental, the team takes time to explain your options, walk through the procedure, and make sure treatment fits your specific situation before anything begins.
You can explore our dental crown services in Beaverton for a full overview if you’re planning your first visit.
FAQs
Q: How many appointments does a dental crown take?
Most traditional dental crown procedures require two appointments: one for tooth preparation and impressions, and a second — typically one to two weeks later — for permanent crown placement. Some offices with in-house milling technology (CEREC) can complete the process in a single visit.
Q: Is the dental crown procedure painful?
The preparation appointment involves local anesthesia, so the procedure itself shouldn’t be painful. Some patients experience mild sensitivity or soreness in the days following, particularly after the tooth is prepared and while wearing the temporary crown. This typically resolves once the permanent crown is placed.
Q: How long does it take to get a dental crown?
The first appointment (preparation) usually takes 60 to 90 minutes. The second appointment for final placement is typically 30 to 45 minutes. The time between appointments — while the lab fabricates the crown — is generally one to two weeks.
Q: Can I eat normally after getting a dental crown?
With a temporary crown in place, it’s best to avoid sticky, hard, or chewy foods on that side of your mouth. Once the permanent crown is cemented and the bite is confirmed, normal eating can resume — though patients with a history of grinding are often advised to wear a nightguard to protect the restoration.
Q: How do I know if I need a dental crown or just a filling?
Your dentist determines this based on how much of the tooth structure remains intact. A filling is appropriate when decay or damage is limited. A crown is recommended when the remaining tooth structure is insufficient to support a filling — typically when more than half the tooth is affected, or when a crack extends below the gumline.
Recent Posts
May 21, 2026
The Dental Crown Procedure, Step by Step: A Patient’s Complete Guide
May 13, 2026
Invisalign for Teens: What Every Parent Should Know Before Getting Started

May 8, 2026
How Smoking Affects Oral Health: What You Needs to Know

April 29, 2026
Why You Should Tell Your Dentist if You Have Allergies
April 22, 2026